If Facebook is already part of your online strategy, or you plan to include it, you will certainly know Business Manager, which is meant for managing advertising and marketing activity on Facebook and for administering it easily within a company.
If you are planning to set one up, our guide "How to create a Facebook Business Manager" will certainly help. If you already have one, you need to verify the domain that belongs to your ad account.
Verifying a domain on Facebook lets you prevent your domain being misused and gives you full control over permissions to edit your links, ads and other shared content. The main benefit of domain verification is being able to choose and edit the preview image and also to change the headline in the content you share. Another no less important benefit of domain verification is control over events — actions taken on your site through Events Manager. The precondition for verifying a domain is that you must be a full admin in Business Manager. You also need to make sure you own the domain. If you meet these conditions, all you have to do is open Business Settings in Business Manager and follow the steps below.

The verification procedure
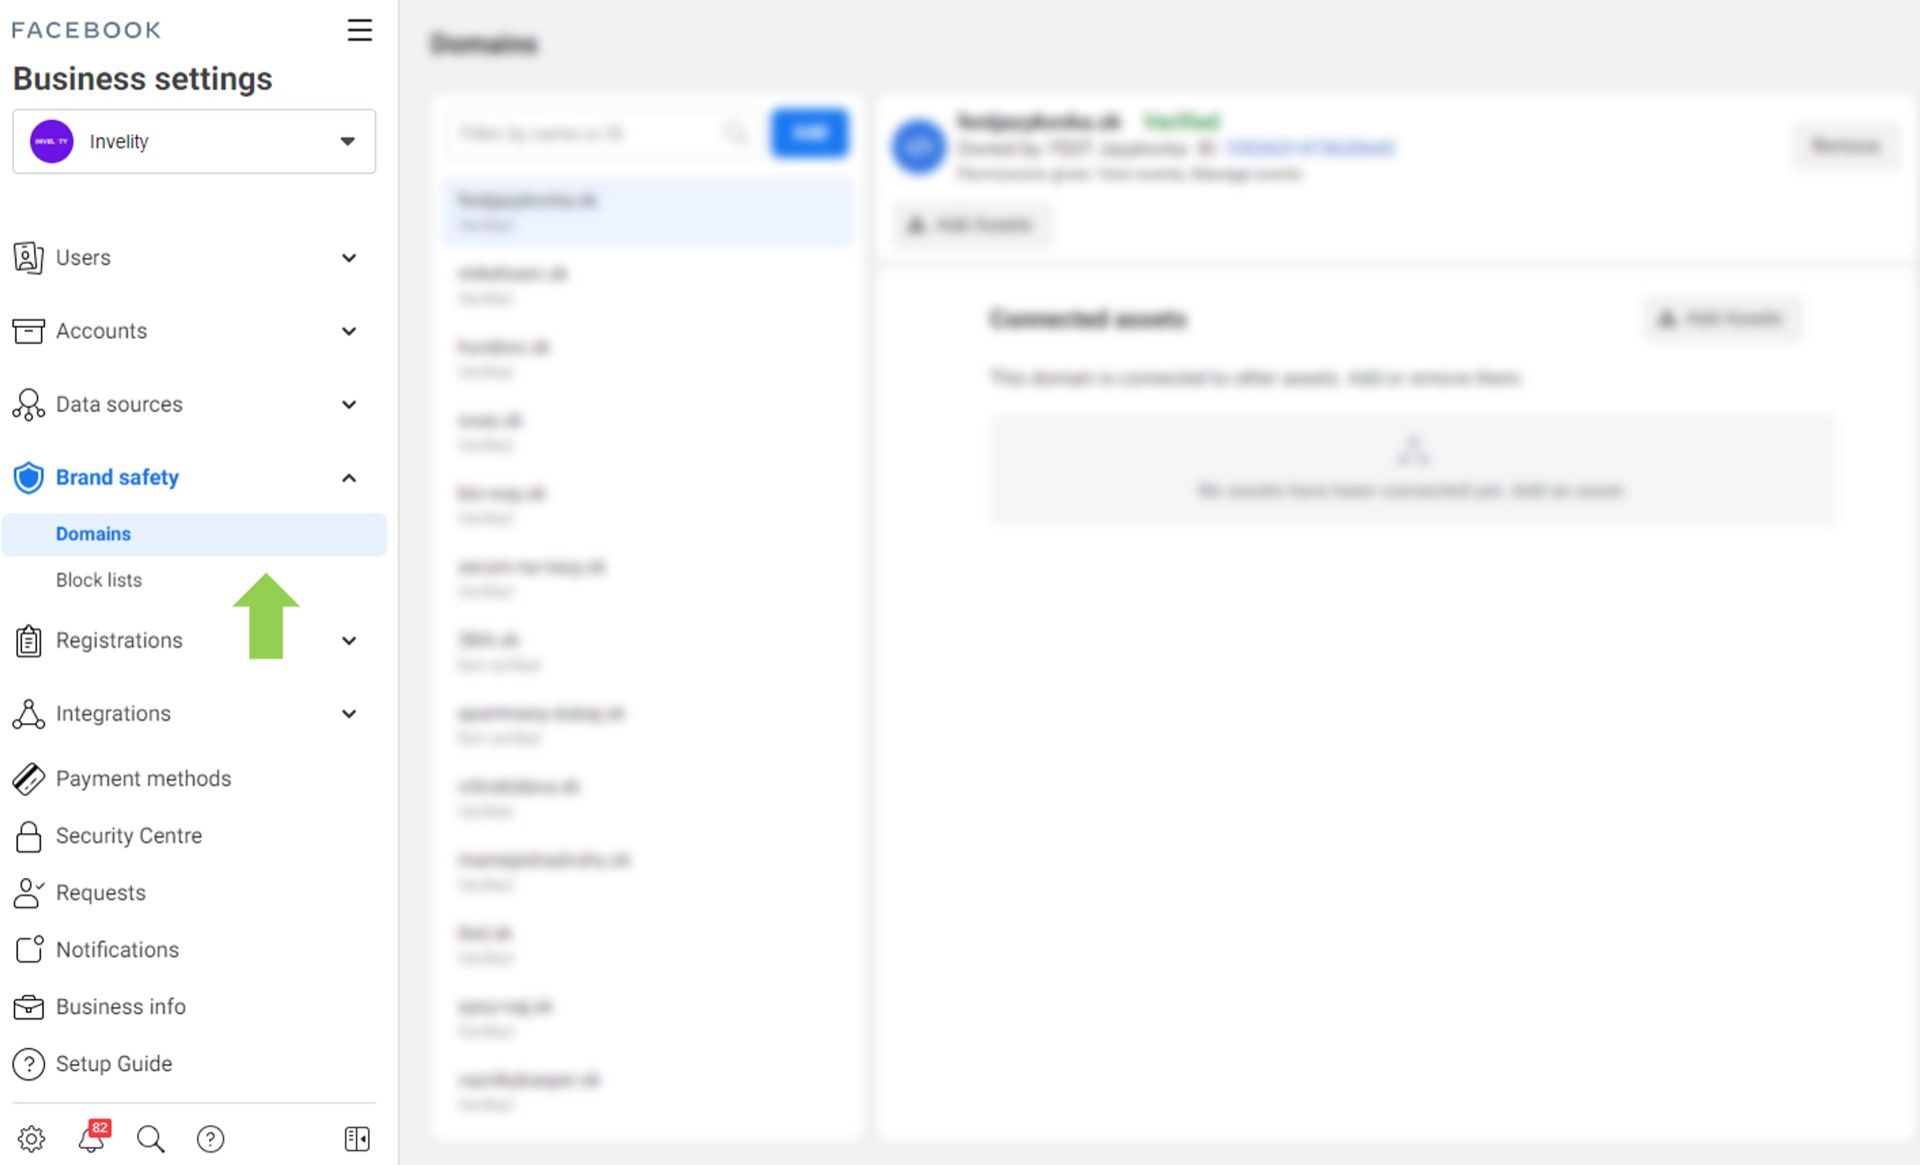
1. In the first step we open the Brand Safety section and choose Domains.
2. We click the blue Add button and a pop-up window opens where we enter the name of the domain we want to verify and confirm with the Add button.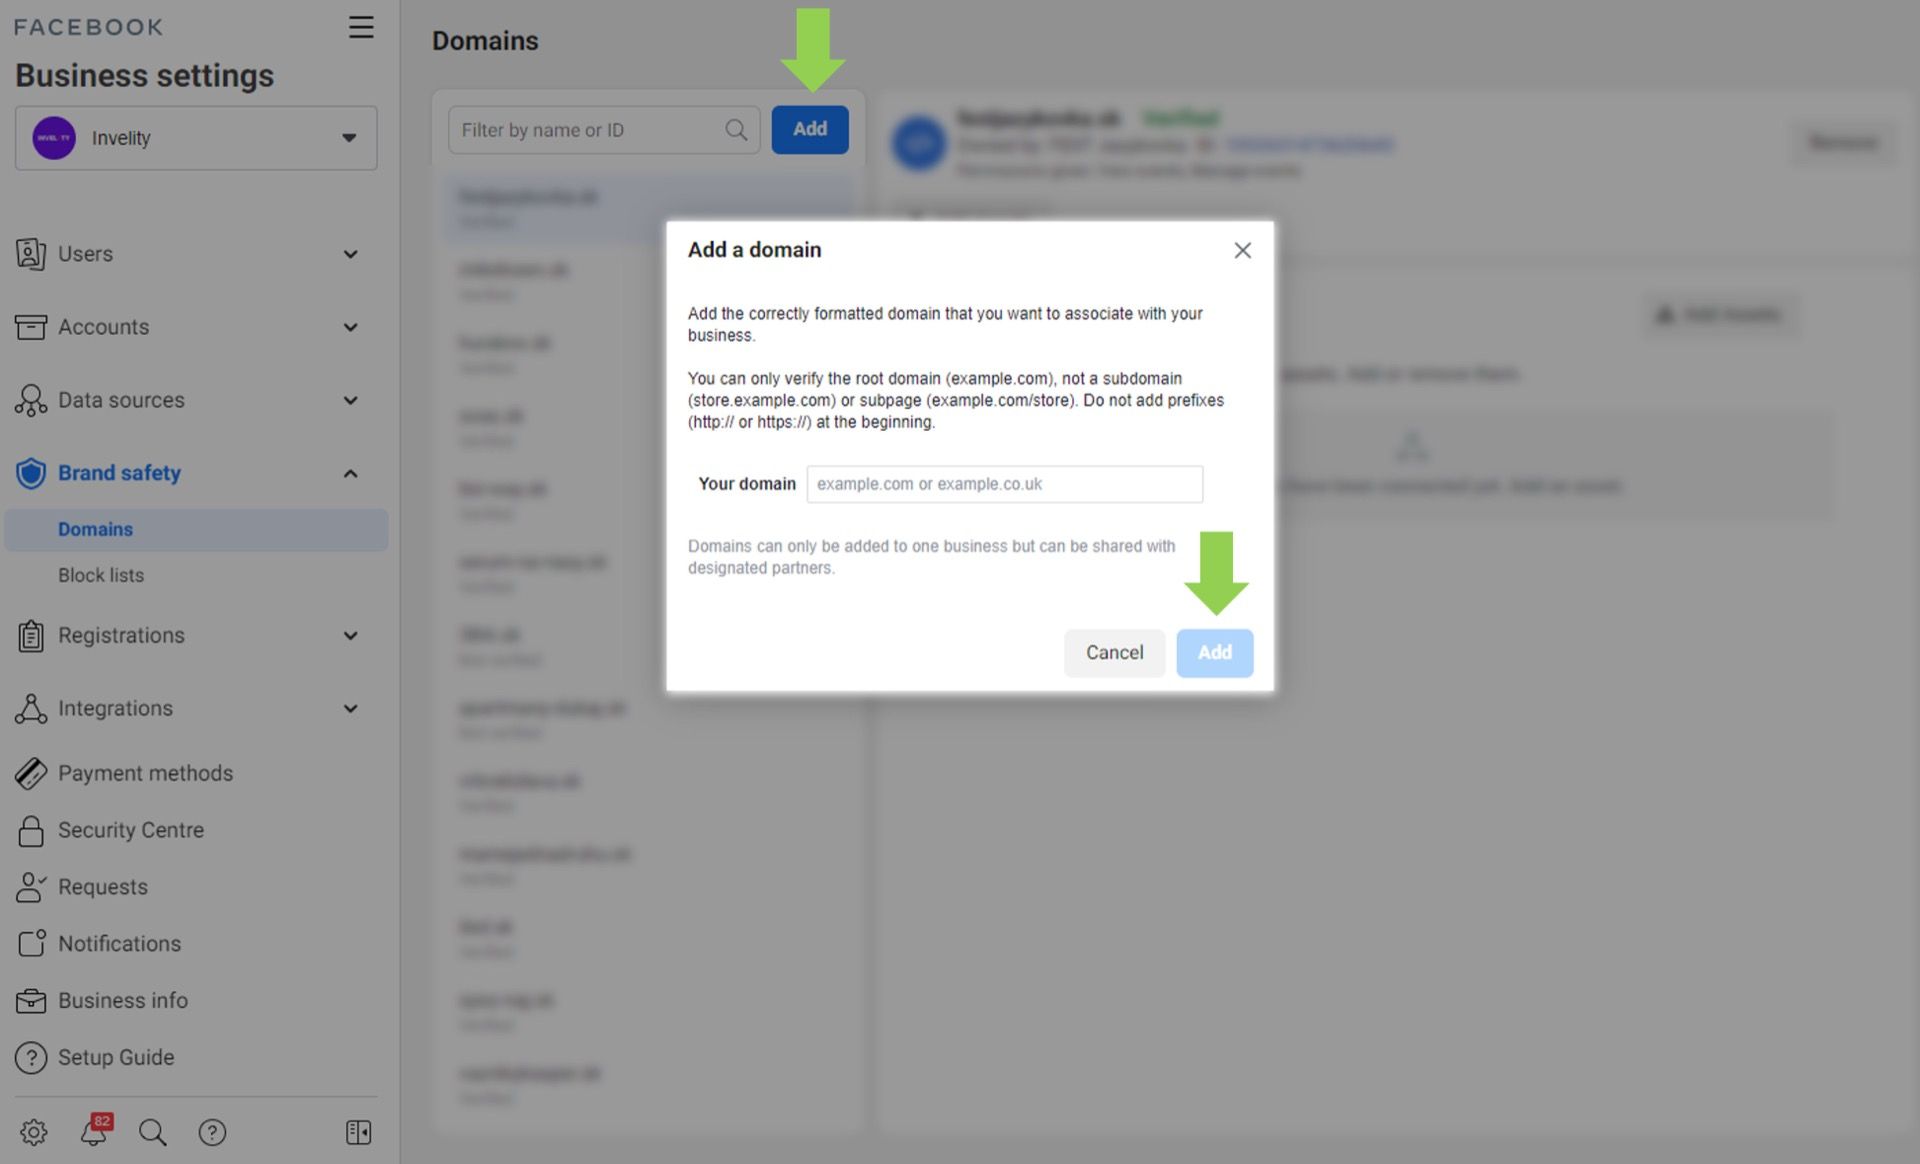
3. We choose one of the three verification options: uploading an HTML file, a DNS TXT record, or inserting a meta tag in the site's header. In our walkthrough we will choose the simplest method ⟶ verification by meta tag.
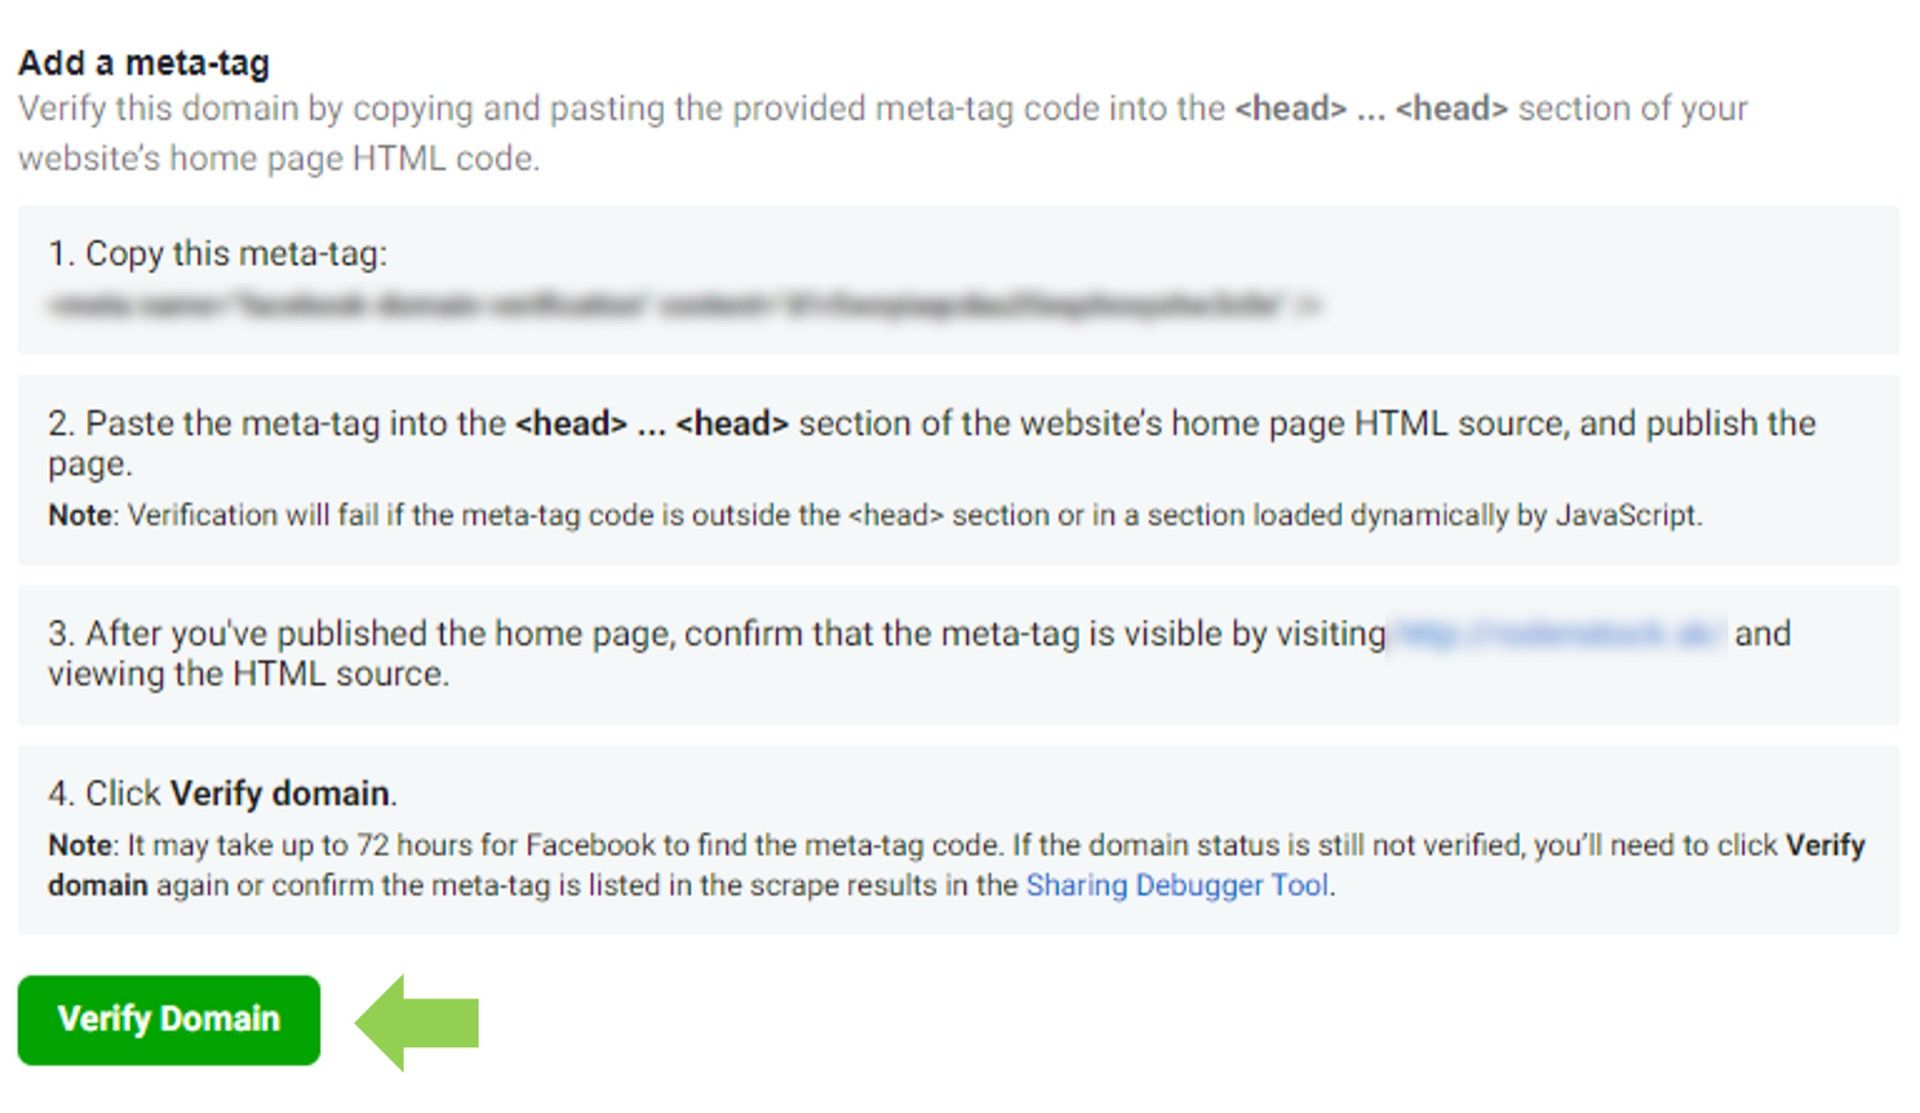 4. After choosing the Add meta tag option we are shown how to add it. At this stage we can choose either:
- to insert it on the site ourselves,
- or to contact our web developer and ask them to add the meta tag to the site's header.
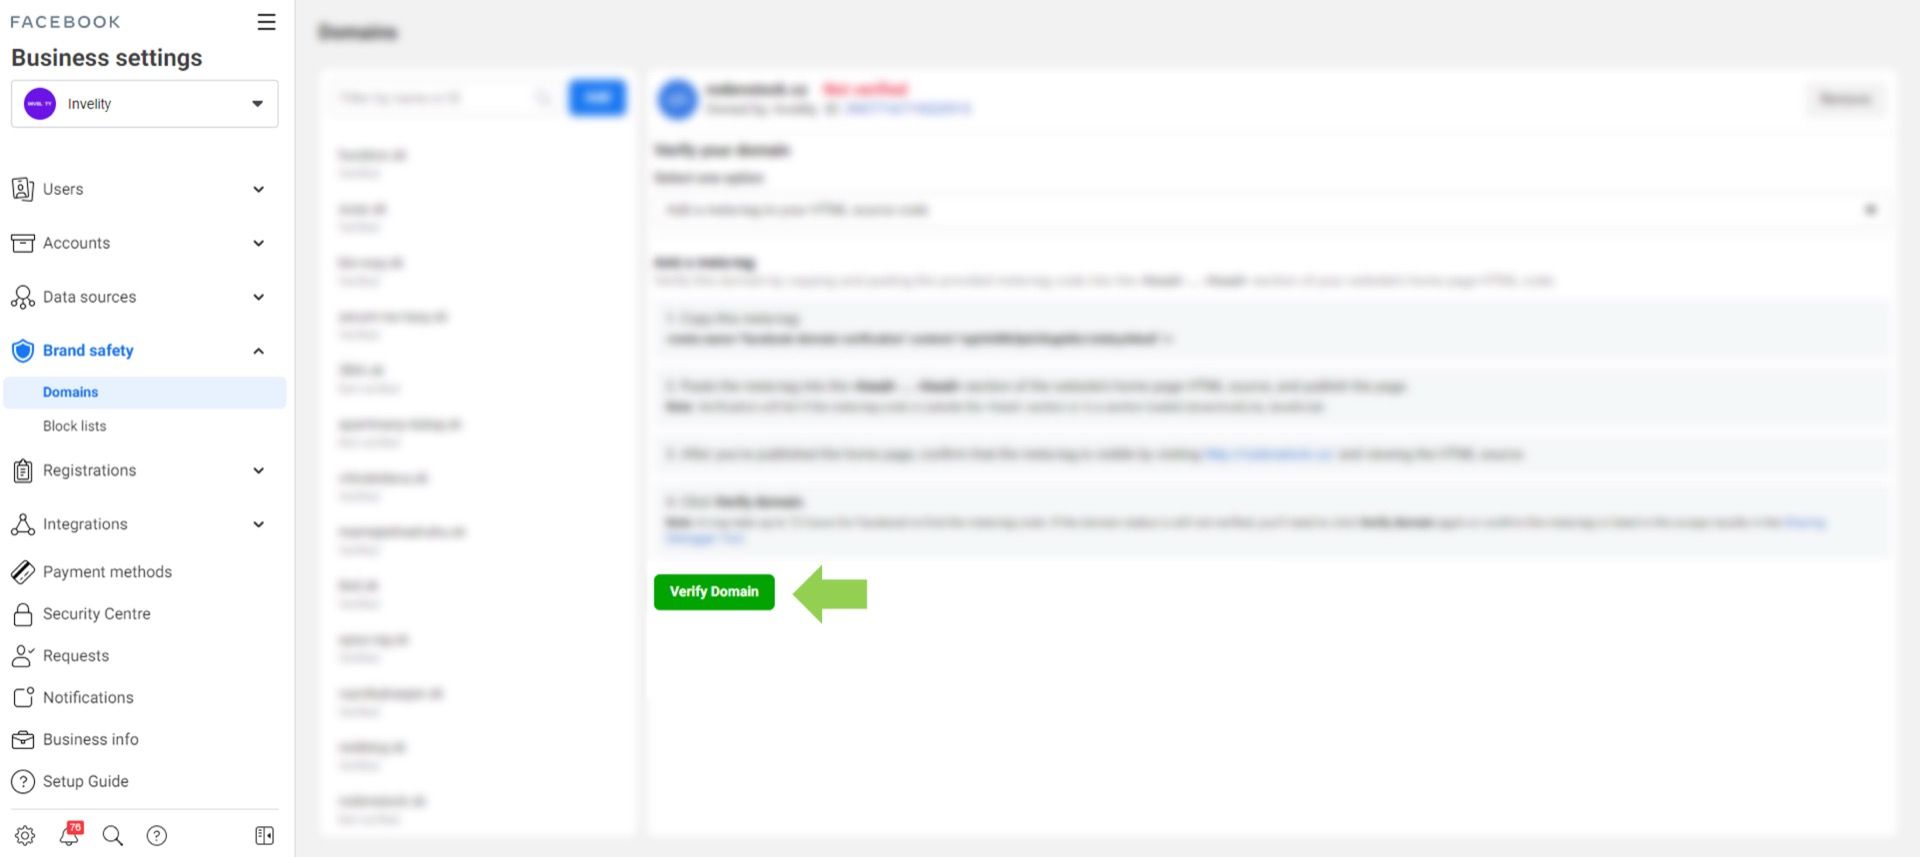
5. In the last step we simply click the green verify domain button and we can enjoy a successful verification.
We firmly believe that with our guide you will manage domain verification with ease. If you cannot make sense of the verification procedure, though, do not hesitate to get in touch and we will look at it together :).